First of all, Siberian CMS is a self-hosted platform. That means you must have a web hosting, and it has to meet the requirements to install Siberian CMS correctly.
The installation, step by step
Installation of Siberian CMS on a Plesk Onyx 17
‣ Unzip the installation zip file. There is just one small index.php file, it is normal, all the files needed to install Siberian will be downloaded from our servers to your server thanks to this file.
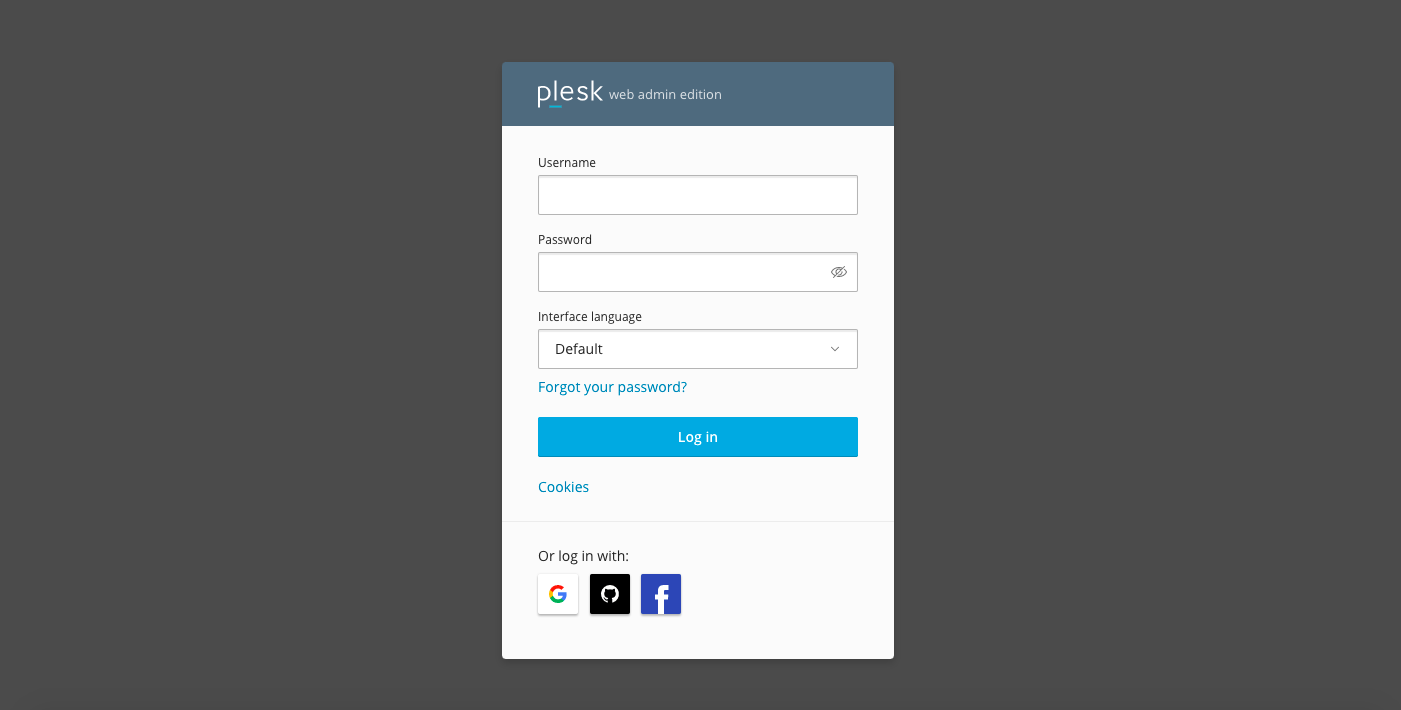
‣ Connect to your hosting panel:
![]()
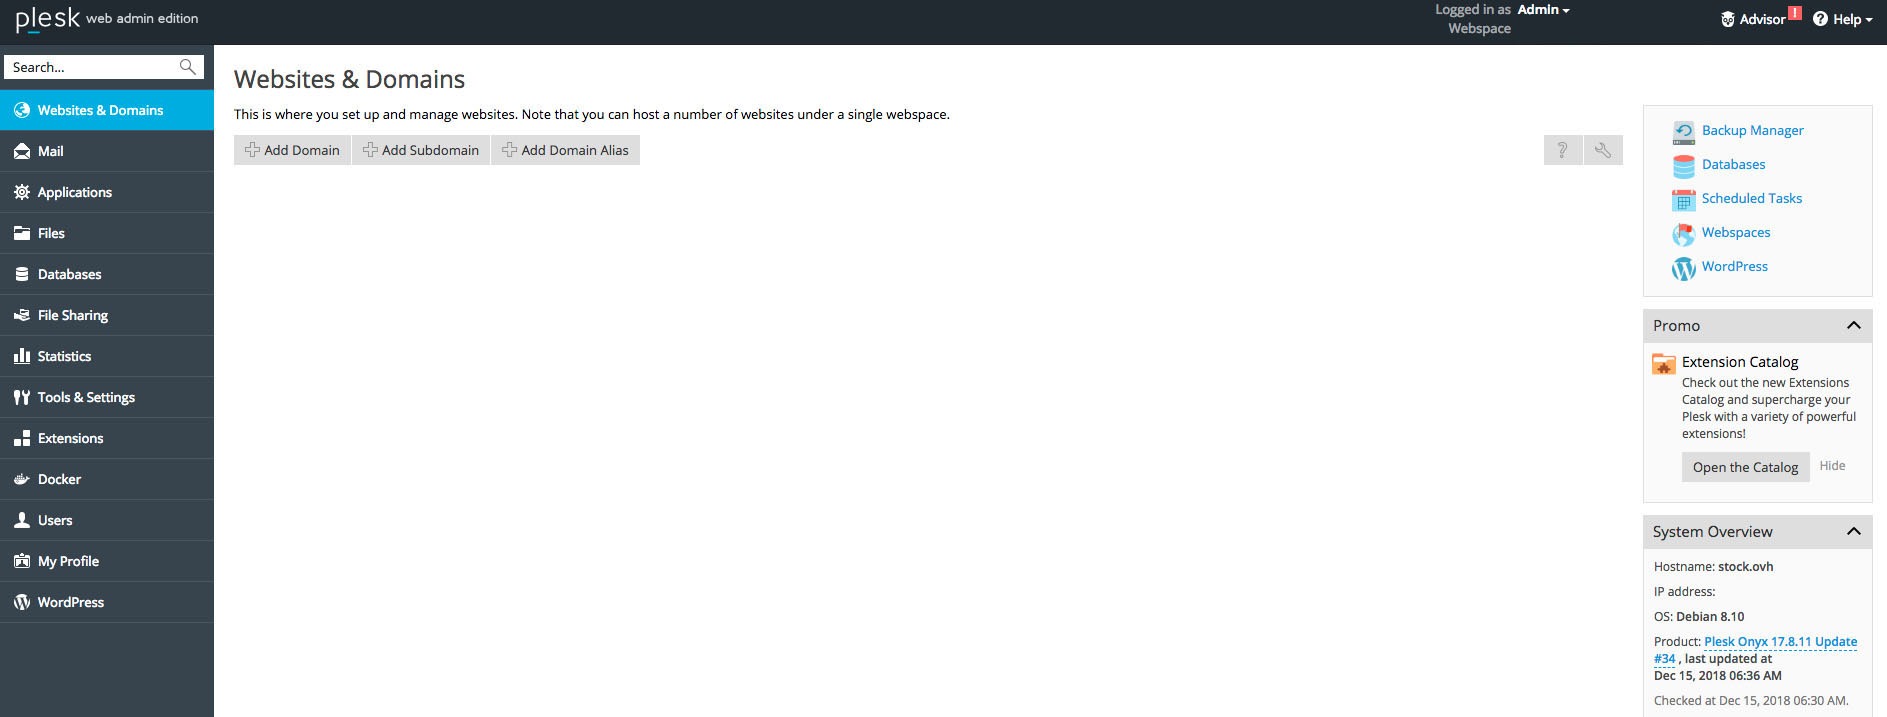
‣ To create the webspace for Siberian, click on ![]()
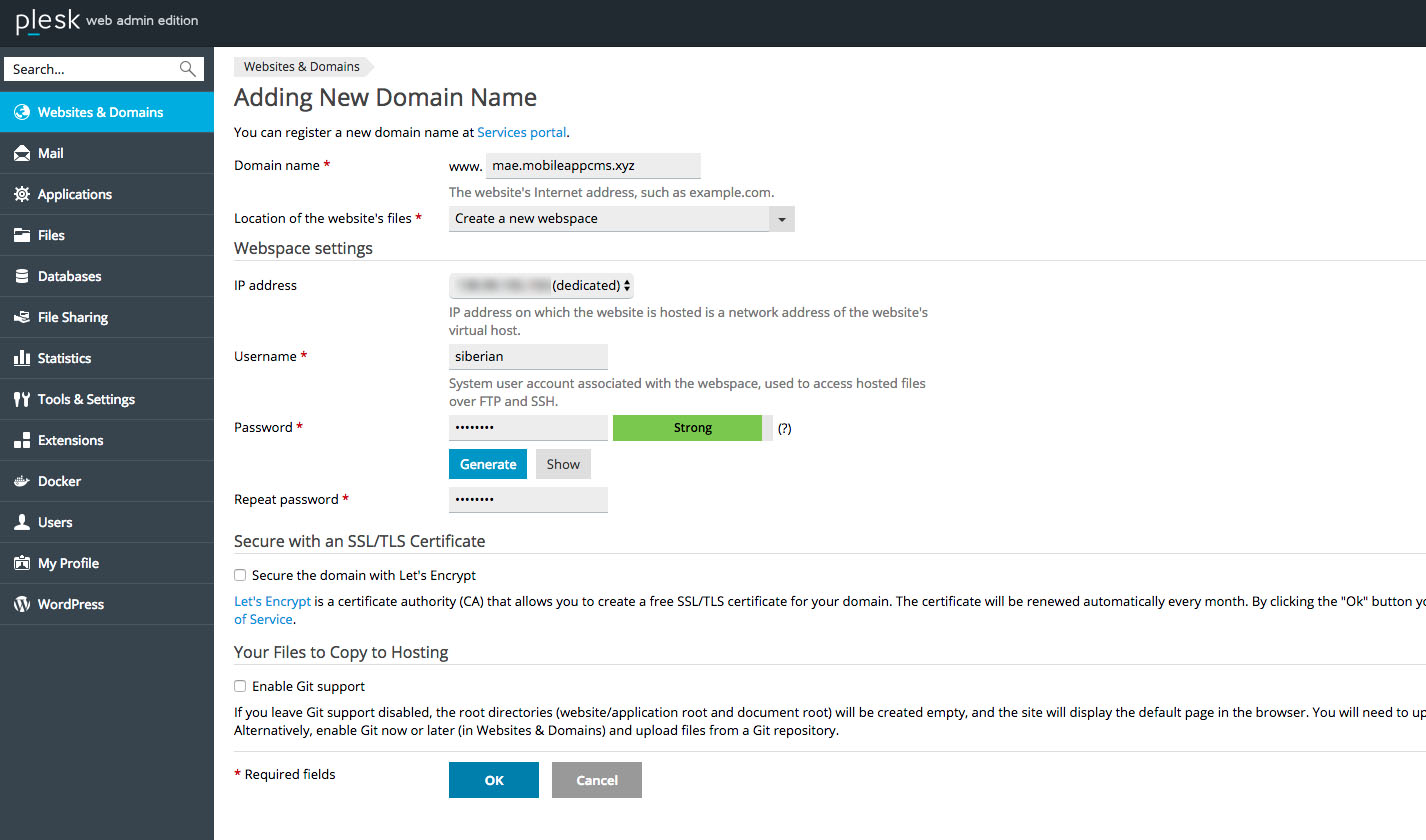
‣ Enter your Domain name in the first field.
‣ Choose “Create a new webspace” as it’s better to have Siberian in its own webspace.
‣ Then create your Username and Password. Keep them stored somewhere, as they can be useful for ftp access.
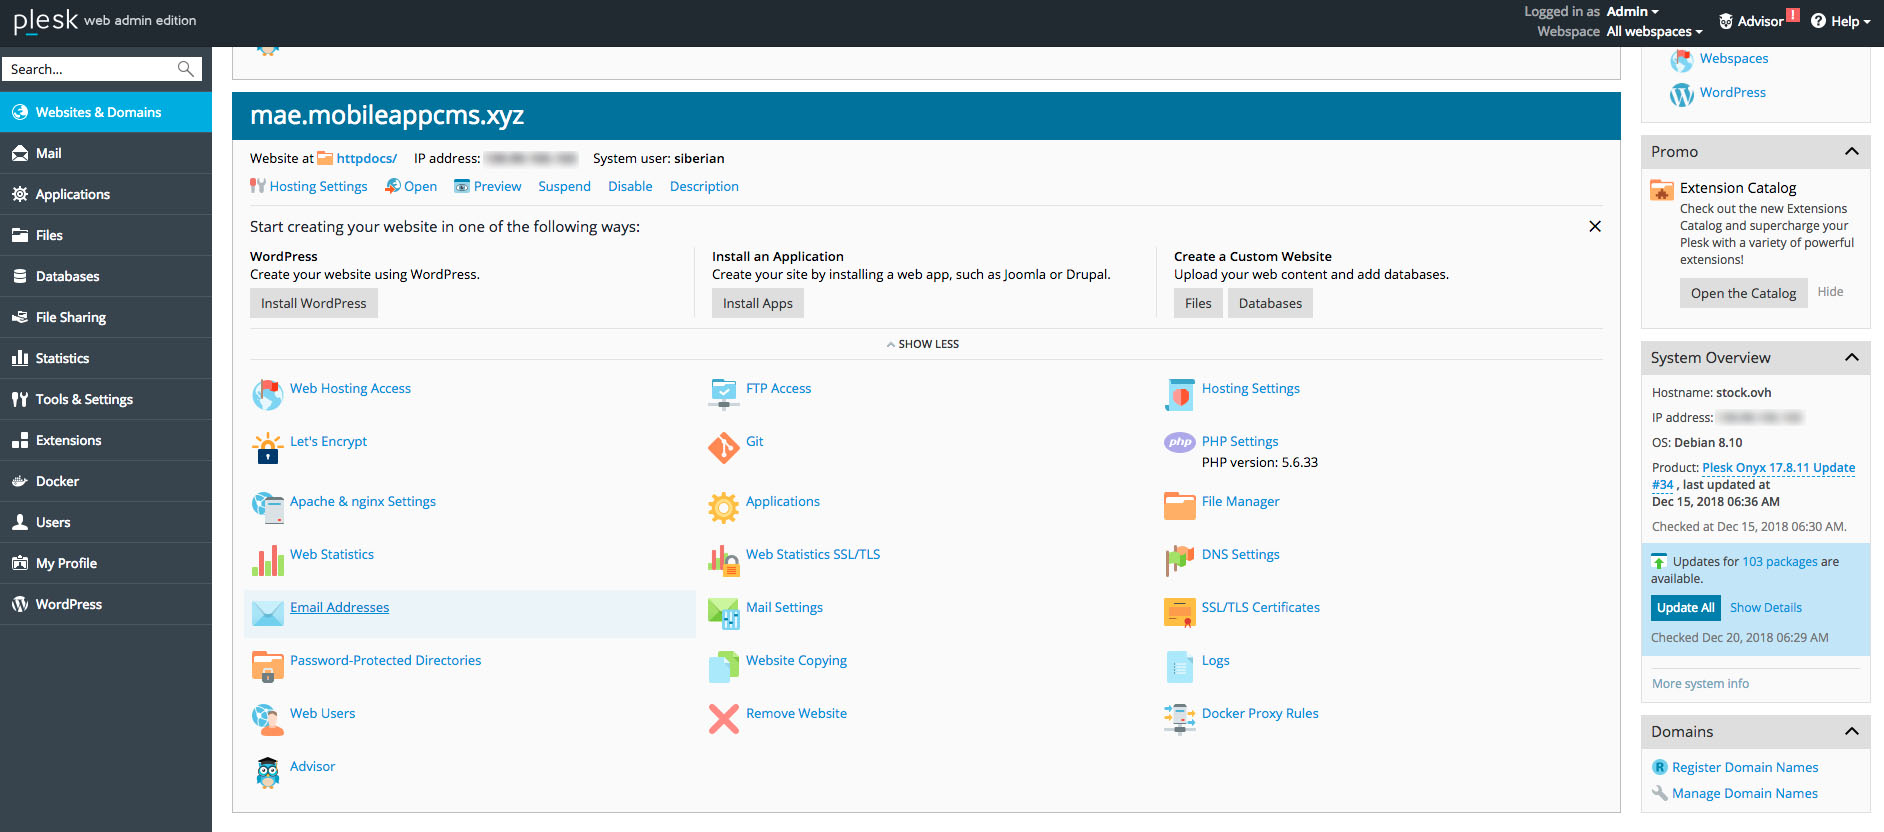
‣ Click on ![]() to create the Webspace. It should look like this:
to create the Webspace. It should look like this:
Now that your webspace is created, you will have to change some PHP Settings.
‣ First, click on ![]()
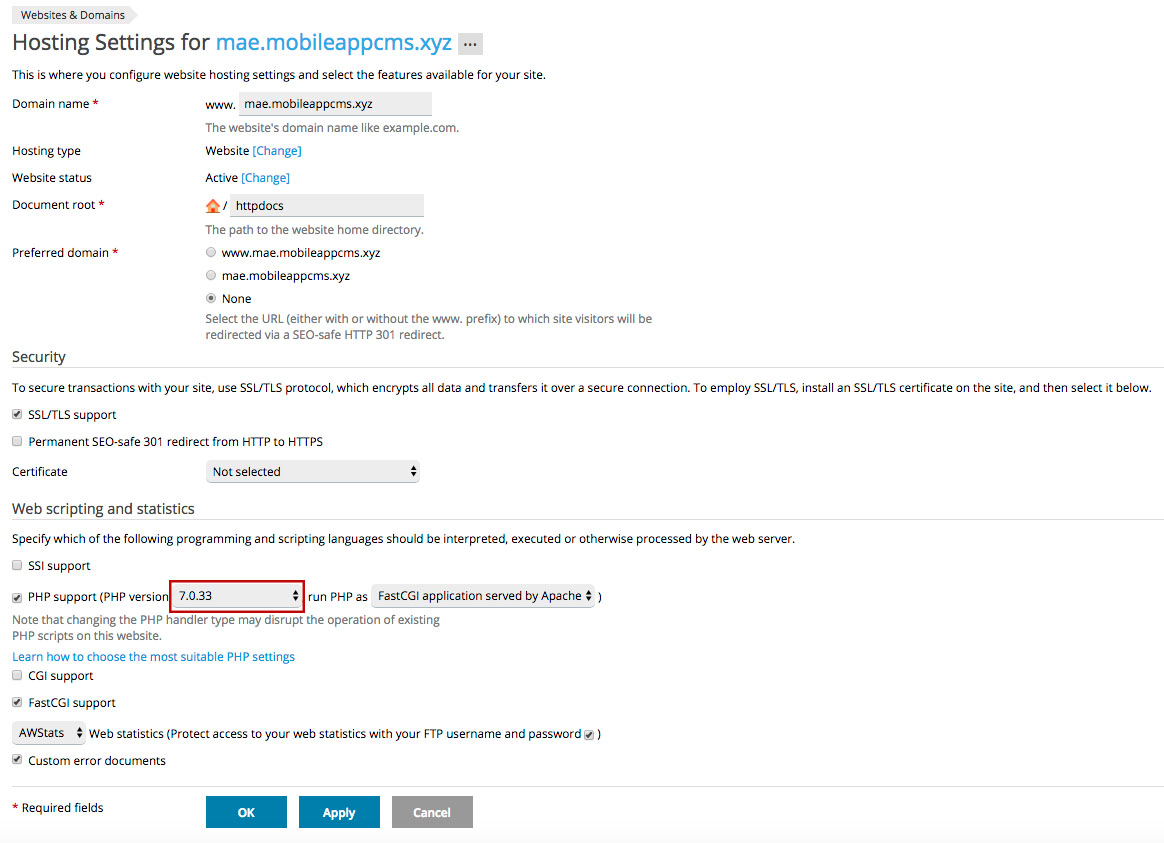
‣ You will have to change the PHP version, PHP 7.3 is recommended. It’s the version which is the most optimized for Siberian. Do not select PHP 7.4, it is not supported.
‣Select also FastCGI for “run PHP as”.
Note: in Security, do not check “Permanent SEO-safe 301 redirect from HTTP to HTTPS”.
‣ Press ![]() to save the changes
to save the changes
‣ Then click on ![]()
‣ Now click on 
All you have to change is on the “Performance and security settings” tab:
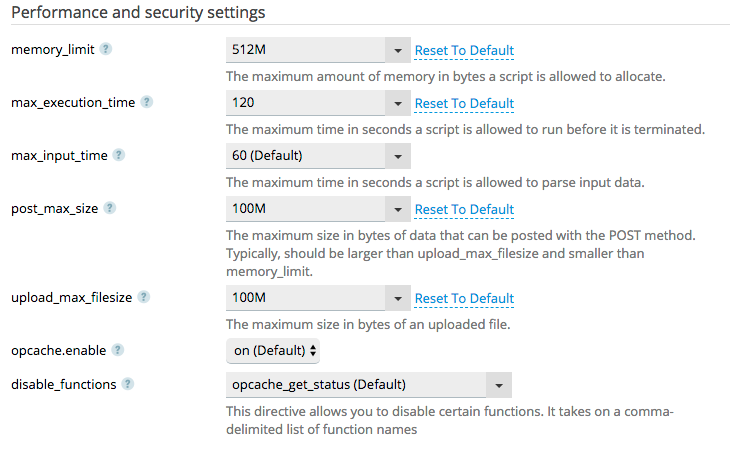
- “memory_limit“: Set it to 512M
- “max_execution_time“: Set it to 120
- “post_max_size“: Set it to 100M
- “upload_max_filesize“: Set it to 100M
‣ Press ![]() to save changes.
to save changes.
‣ Then click on ![]()
That’s all for PHP Settings.
For the Cron scheduler to work properly on your Siberian, there is a small modification to be done on your Plesk.
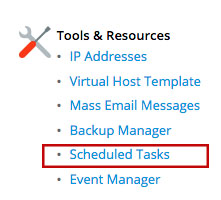
‣ Click on the left menu ![]()
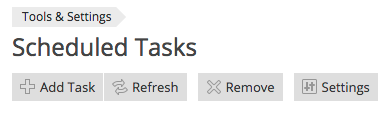
‣ In “Tools & Resources” click on Scheduled Tasks
‣ Then click on ![]()
‣ For “Crontab shell” select /bin/bash

‣ Press ![]() to save changes.
to save changes.
‣ Then click on ![]()
To allow White Labels on your Platform Edition, you must first make some settings on your server.
‣ Click on the left menu ![]()
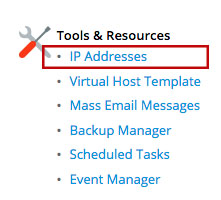
‣ In “Tools & Resources” click on IP Adresses
‣ Click on the IP address of your server
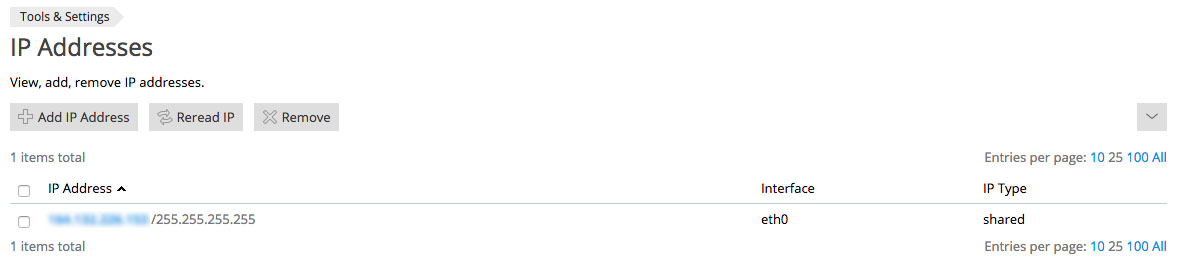
‣ For Default site select the domain of your Siberian

‣ Click on ![]()
‣ Click on ![]() then on
then on ![]()
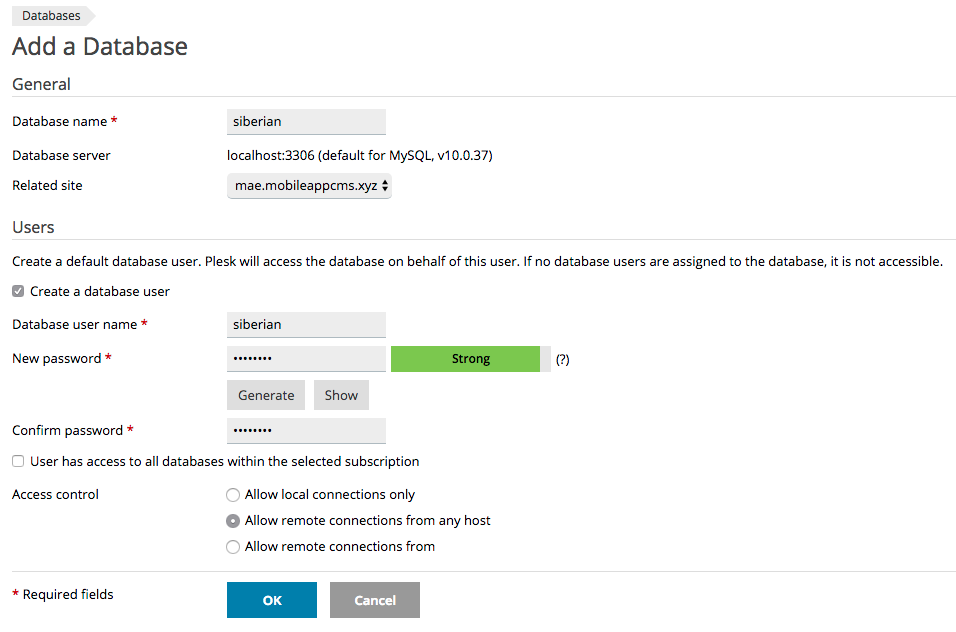
‣ Set the database name, and a user.
That’s it for the database.
‣ Click on ![]()

‣ Click on the checkbox highlighted above, and click on ![]() . The webspace should be empty.
. The webspace should be empty.
‣ Now upload the index.php by Drag&Drop or with the button ![]() .
.
‣ Once you have uploaded the index.php installation file on your website, you can reach the URL of your website from your browser: in my case: “http://mae.mobileappcms.xyz”
![]()
From the page, you will see:
| On Single App Edition: | On Multi Apps and Platform Edition: |
|---|---|
 |
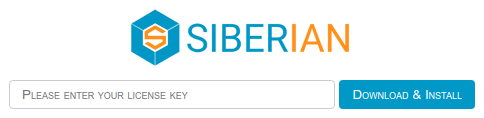 |
‣ If required, enter your license number
You can find your license number in your purchase confirmation mail.
‣ To start the installation, click on Download & Install
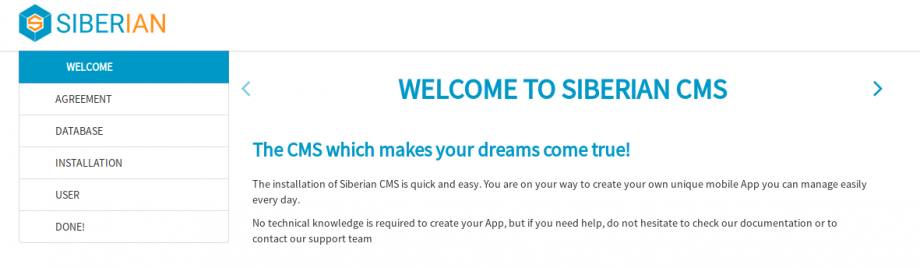
‣ Click on ›

https://doc.siberiancms.com/
‣ Read the Terms and conditions, tick the box if you agree, and click on ›

‣ Fill in the database credentials you set up earlier. “Host” is localhost, unless you want to use a distant database.
‣ Then click on ›

‣ Create you user account, then click on ›
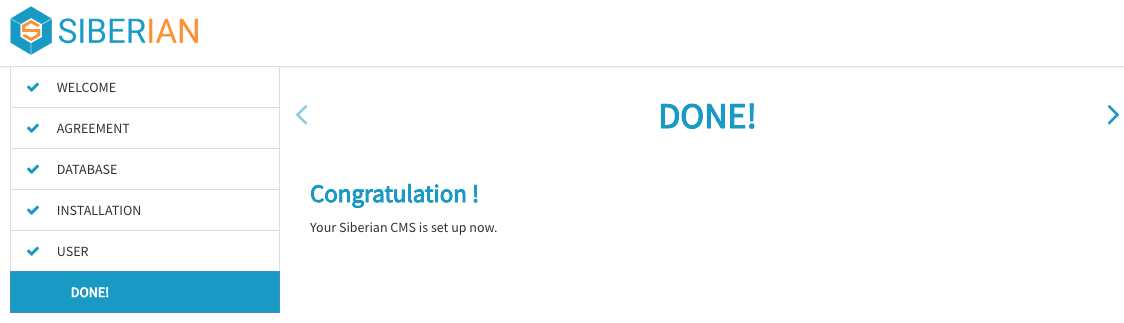
Congratulations, your Siberian is installed !
‣ You can reach your editor with your domain name, http://mae.mobileappcms.xyz in my case.
![]()
‣ You can reach your backoffice by adding /backoffice to your domain name, https://mae.mobileappcms.xyz/backoffice in my case.
![]()
From your backoffice, you can now configure your SiberianCMS.