First of all, Siberian CMS is a self-hosted platform. That means you must have a web hosting, and it has to meet the requirements to install Siberian CMS correctly.
The installation, step by step
Installation of Siberian CMS on a VestaCP
Unzip the installation zip file. There is just one small index.php file, it is normal, all the files needed to install Siberian will be downloaded from our servers to your server thanks to this file. Connect to your hosting panel:
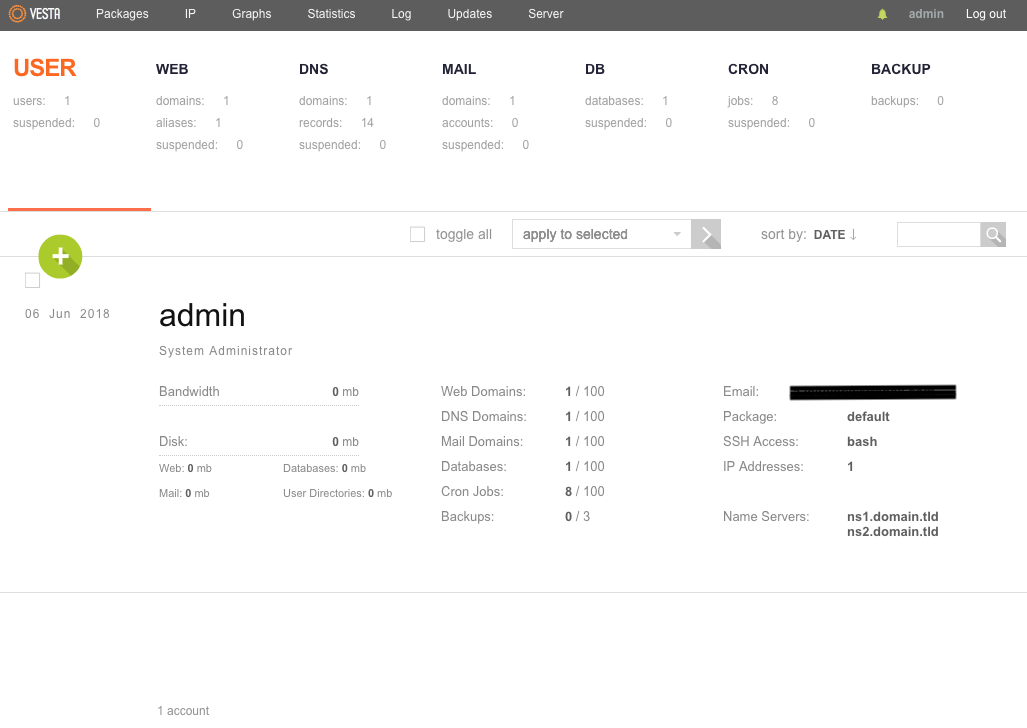
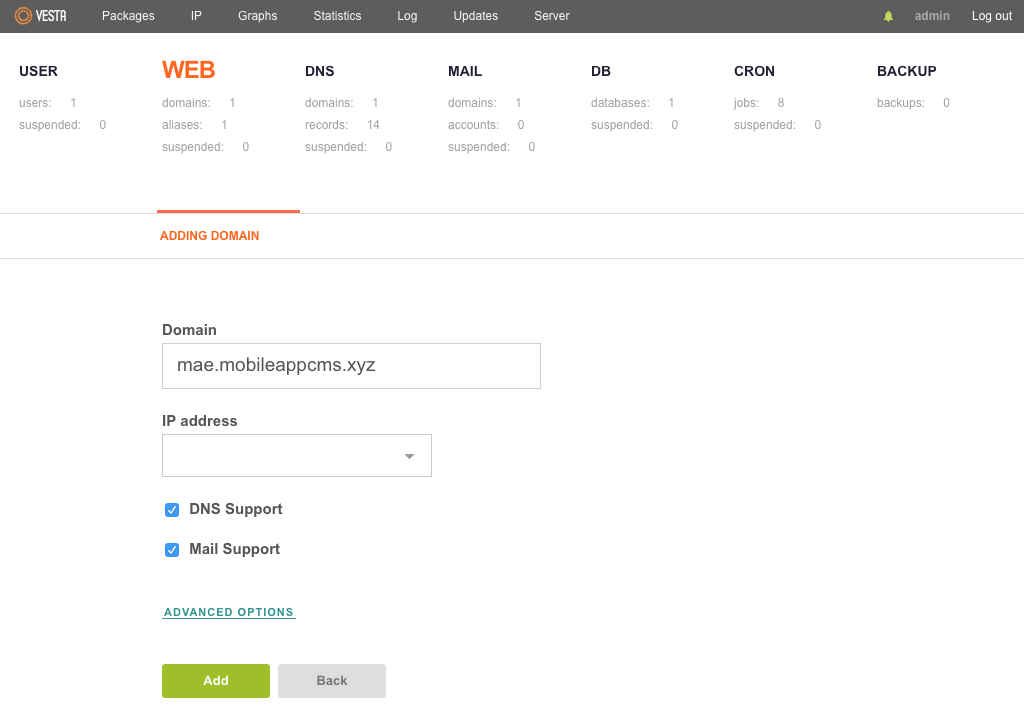
To create the webspace for Siberian, click on  in the “Web” section:
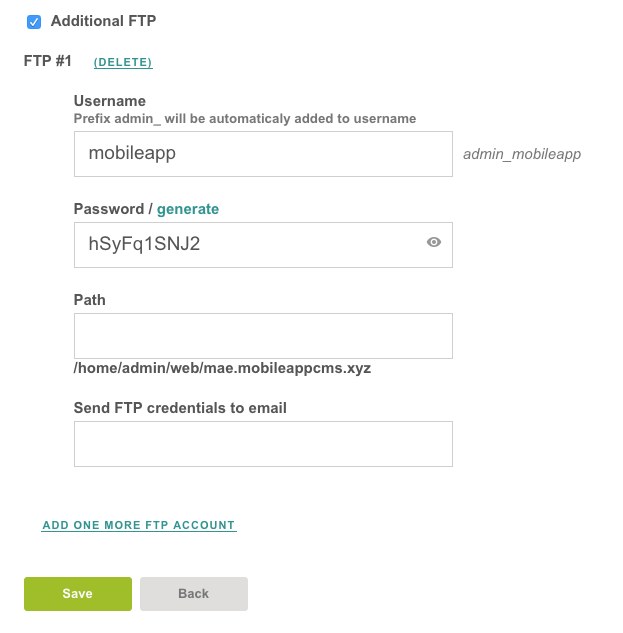
Then click on “Advanced options” and tick “Additional FTP” to create a ftp access to the webspace:
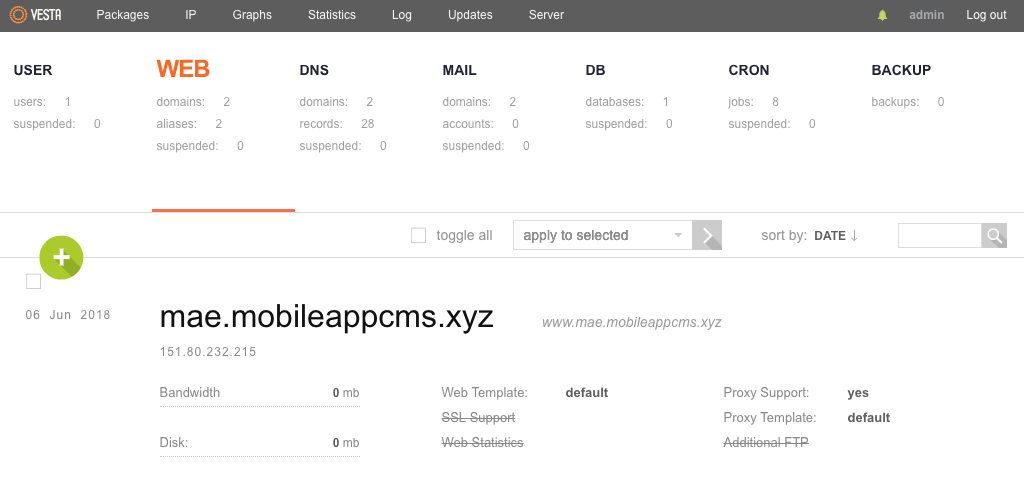
Finally, click on ![]() :
:
Now that your webspace is created, you will have to change some PHP Settings. First, click on ![]() >
> ![]() in the “httpd Web server” section >
in the “httpd Web server” section > ![]() :
:

- “memory_limit“: Set it to 512M
- “max_execution_time“: Set it to 120
- “post_max_size“: Set it to 100M
- “upload_max_filesize“: Set it to 100M
And then click on ![]() to save changes. That’s all for PHP Settings.
to save changes. That’s all for PHP Settings.
Click on 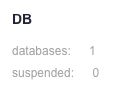 and
and  :
:
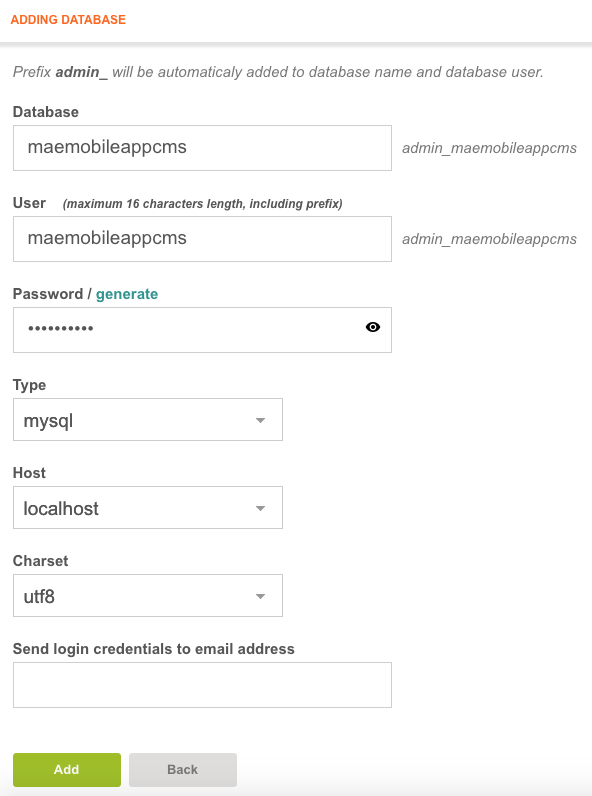
Type the name, the user and the password, then click on ![]()
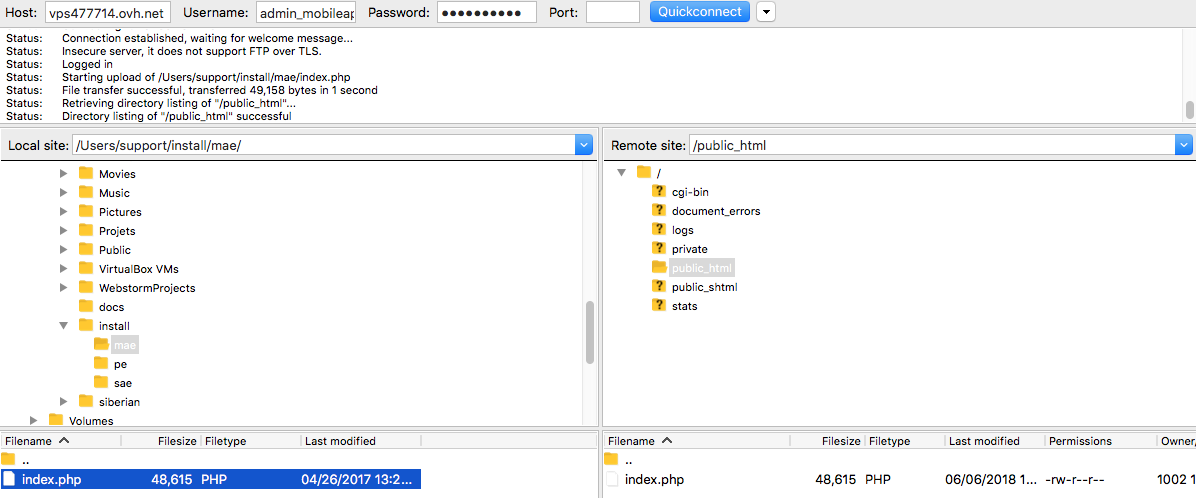
To upload index.php in the webspace, we will use FileZilla:

To connect to your webspace, use the FTP you just created. The “Host” is the IP address of your server. Leave the port as default (blank).
Delete all of the files in the folder “public_html” on the right (it’s the webspace).
Find index.php on the left (it’s your computer) and drag it to the right in the “public_html” folder:
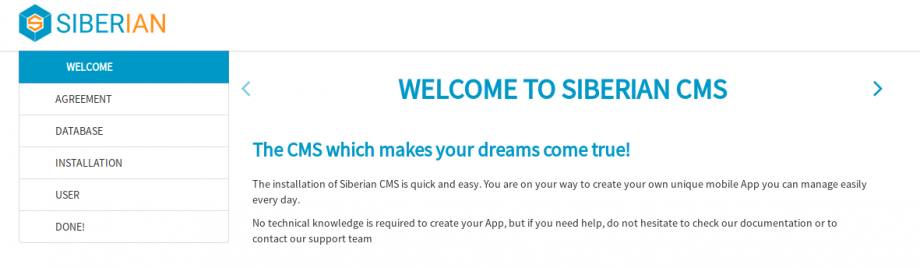
That’s it, you can now start the installation of Siberian.
‣ Once you have uploaded the index.php installation file on your website, you can reach the URL of your website from your browser: in my case: “http://demo1.mobileappcms.xyz”
![]()
From the page, you will see:
| On Single App Edition: | On Multi Apps and Platform Edition: |
|---|---|
 |
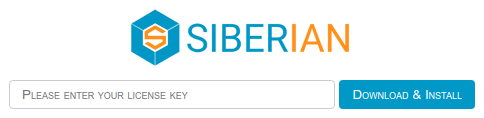 |
‣ If required, enter your license number
You can find your license number in your purchase confirmation mail.
‣ To start the installation, click on Download & Install
‣ Click on ›

https://doc.siberiancms.com/
‣ Read the Terms and conditions, tick the box if you agree, and click on ›

‣ Fill in the database credentials you set up earlier. “Host” is localhost, unless you want to use a distant database.
‣ Then click on ›

‣ Create you user account, then click on ›
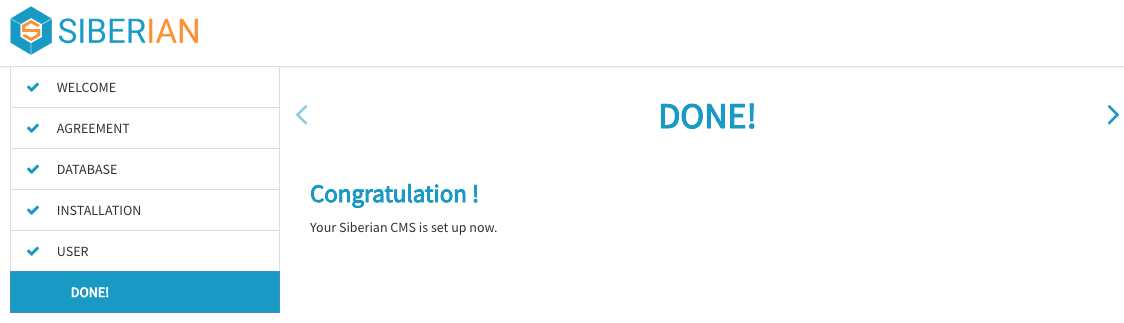
Congratulations, your Siberian is installed !
‣ You can reach your editor with your domain name, http://demo1.mobileappcms.xyz in my case.
![]()
‣ You can reach your backoffice by adding /backoffice to your domain name, https://demo1.mobileappcms.xyz/backoffice in my case.
![]()
From your backoffice, you can now configure your SiberianCMS.