What is SSL?
SSL stands for Secure Socket Layer. It is a protocol to secure the exchanges on a website. If your website or web application is secured by a SSL certificate, the exchanges on your website are secured and, for example, a user who signs up cannot have his password stolen by a hacker who tries to intercept the exchanges on your website.
If your website has SSL enabled that means you can access to it through a “https” connection. To try, just enter “https://your-domain.com” in your browser. If it shows a padlock symbol in the address bar, just before your domain name, that means your website has SSL enabled.
SSL can be enabled on your website or your web application by adding a SSL certificate on your hosting. In this article we are going to show you how to do that for your Siberian. Note that, if you are using a SAE you can add a SSL certificate your own way by using the SSL certificate options offered by your hosting provider. However if you have a Multi-Apps Edition or a Platform Edition, due to the fact you can have some clients using their own domain name for their apps or for their admin panel (in case of resellers for PE owners), we strongly advise you to use the process below.
Why you MUST use SSL?
From January 2017 the 1st, Chrome, which is one of the most used browser, will mark the sites that use authentication and/or credit card transactions with a “non-secured” flag in the address bar.
Here is what they say:
Beginning in January 2017 (Chrome 56), we’ll mark HTTP pages that collect passwords or credit cards as non-secure, as part of a long-term plan to mark all HTTP sites as non-secure.
In addition, Apple, and so it concerns the native applications, will reject and remove from sales any application that is not running under a HTTPS connection. That means you have to use RIGHT NOW a SSL certificate on your Siberian and publish an update of your application on the App Store.
SSL and Siberian
From Siberian 4.8.0 we have introduced Let’s Encrypt as our SSL Certificates provider.
Siberian will manage your certificates and their renewal automatically from the cron scheduler after the initial setup is done.
We also provide four API’s to push the generated certificates to the following common Admin panels, Plesk 12+, cPanel, VestaCP, and DirectAdmin.
Before starting this process, be sure to have your Siberian updated to the latest version.
Initial Setup
First go into Backoffice > Settings > Advanced > Configuration
You will likely see this section, for now your HTTPS is disabled, and you have no issued certificates from let’s encrypt.
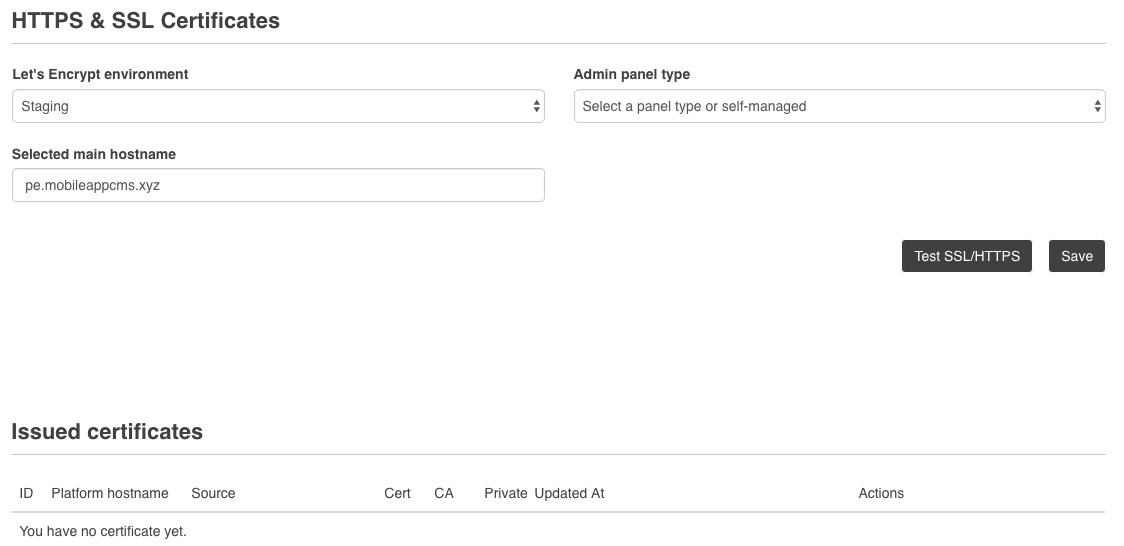
Let’s jump to the next step.
What do I need in order to setup & generate my SSL Certificates ?
You will see that Let’s Encrypt API is set on staging* (test) by default, set it to production.

- Get your admin* username, password & hostname
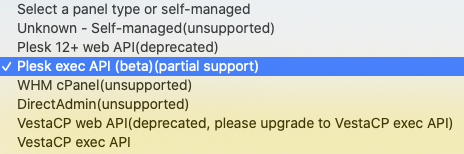
- Select your panel type in the list
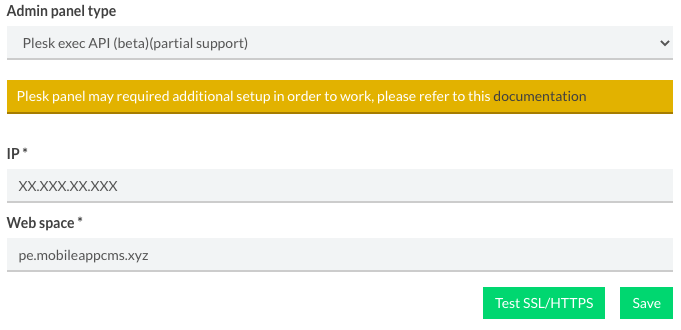
- Fill-in the required information
Host must be in the form:
- Plesk: https://mydomain.com:8443/
- cPanel: https://mydomain.com:2083/
- VestaCP: https://mydomain.com:8083/
- DirectAdmin: ssl://mydomain.com:2222/
Note: For VestaCP there are two options, VestaCP web API and VestaCP exec API.
For VestaCP exec API you have to enter only the username and web space (usually your Siberian domain name):
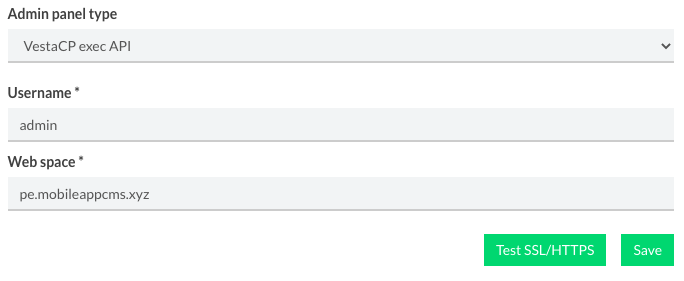
- If your webspace name created on your hosting panel, doesn’t match your domain name, then specify it in the field “Web space“. For example, you created a webspace called “siberian”, but your domain name is myapps.domain.com, then you will have to enter “siberian” in the field “Web space“.
- Then

- Wait for the page to reload, and click on

Note: Do NOT refresh or quit the page until it’s done.
- If the request is successful you should now see your certificate in the “Issued certificates” below

- It’s done ! Siberian pushed your certificate to your hosting panel and will check periodically with the cron scheduler if your certificates need to be renewed.
- For the Platform Edition, every-time a new White Label domain is setup, the certificate will be updated to match with the new domain.
*note: the admin account is generally required in order to use the API.
For cPanel users it happens sometimes that the certificate is renewed but not uploaded in the panel. You have to perform a manual action:
- download your renewed certificates by clicking on them:
- Open them in a text editor (not Word, preferably)
- Then, enter in your cPanel
- Search for SSL and enter in this SSL section
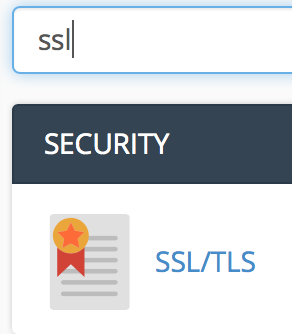
- Click on “Manage SSL sites”
- Select your domain
- Copy and paste your certificates in the appropriate sections:
- The cert.pem in the “Certificate” field
- The privkey.pem in the “Private Key” field
- The fullchain.pem in the “Certificate Authority Bundle” field
- Click on “Install certificate” and you’re done.
- First select “Unknown – Self-managed”

- Then
- Wait for the page to reload, and click on
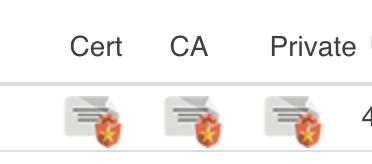
- If the request is successful you should now see your certificate in the “Issued certificates” below. Click on
 to check the paths:

- Setup your web-server with your new certificates, some examples below:
- Nginx: In your virtual host add the following lines
[...]
listen 443;

ssl on;
ssl_certificate /path/to/your/certificate/cert.pem;
ssl_certificate_key /path/to/your/certificate/private.pem;
[...]
Apache: In your virtual host add the following lines
[...]
<VirtualHost *:443>

SSLEngine on
SSLCertificateFile /path/to/your/certificate/cert.pem
SSLCertificateKeyFile /path/to/your/certificate/private.pem
SSLCertificateChainFile /path/to/your/certificate/chain.pem
[...]
- Nginx: In your virtual host add the following lines
- [Recommended] Next you will have to setup a root incron job , which will watch the certificate file “/path/to/your/certificate/cert.pem” changes to call your server to reload.
- For Debian, Ubuntu, etc…
- apt-get install incron
- For Fedora, Red Hat, CentOS, etc…
- yum install incron
- Setup your job “incrontab -u root -e” add the following line /path/to/your/certificate/cert.pem IN_MODIFY /usr/bin/reload-web-server.sh
- Example script for /usr/bin/reload-web-server.sh
-
#!/bin/bash
service httpd reload
-
- Don’t forget to chmod +x /usr/bin/reload-web-server.sh the script
- Example script for /usr/bin/reload-web-server.sh
- Start the service “service incrond start” or “/etc/init.d/incrond start”
- Now each time your certificate is renewed or modified (cf: new domains registered) your web-server will be reloaded to serve the new file.
- For Debian, Ubuntu, etc…
Thus it’s not a recommended way to setup your Siberian SSL, you can setup your existing certificates by giving Siberian their path or by uploading them.
- For the Platform Edition, every-time a new White Label domain is setup, you will have to renew your certificate by adding the new domains to the Subject Alternative Names of your certificate, otherwise your whitelabels won’t work with HTTPS.
- First you need to expand the upload section by clicking on the title or “+”
- You’ll then have access to this new form.
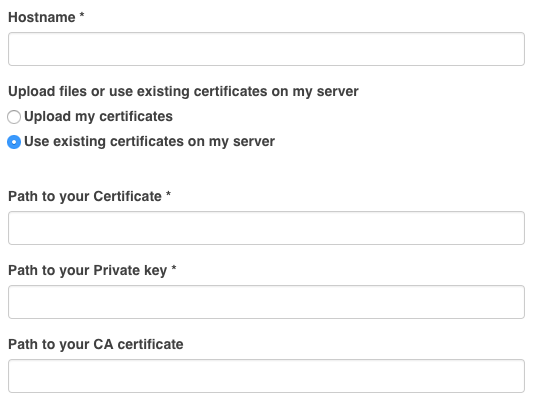
We highly recommend to provide existing paths to your certificates rather than uploading them manually, if you want to upload certificates jump to the next section #upload-my-certificates.You will have to fill in the main domain name in “hostname” and provide your certificates path.The certificates path must be the same already setup in your server virtual host, this way Siberian always have the latest certificate.
- Now click on upload and you’re done.
Upload my certificates
- Below you can see the upload form
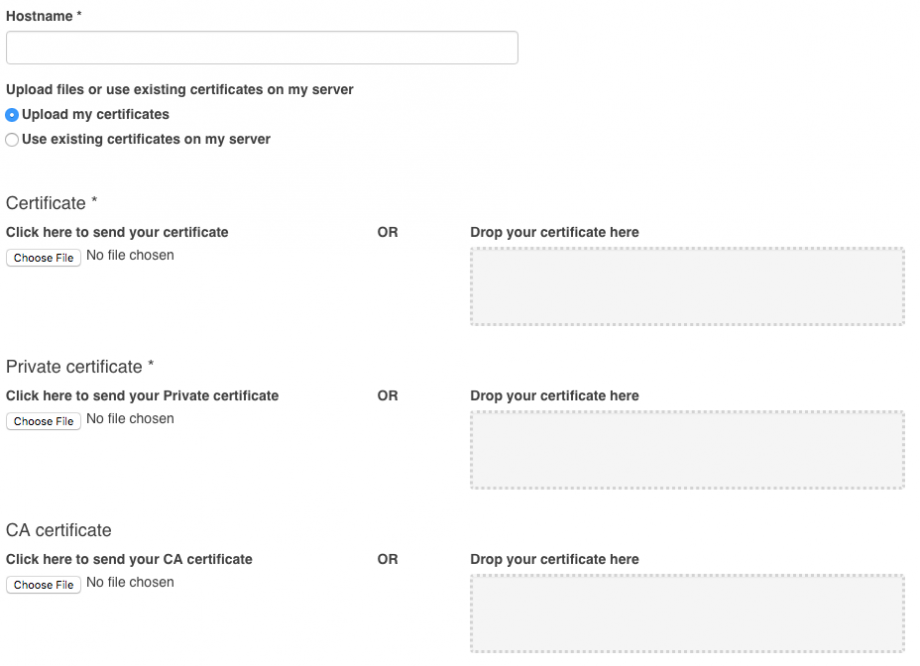
In this form you also have to fill in the main domain name in “hostname”, but this time you have to upload your existing certificates files.
- You can now click on upload and you’re done.
Note: when uploading certificates rather than giving Siberian the path, you will have to upload them again each time they are renewed