With the Twitter feature you will be able to include your Twitter account in your application.
1. Create your Twitter API keys
To get Twitter Access keys, you need to create a Twitter Application which is mandatory to access Twitter.
- You must have your phone number verified on your twitter account (follow this doc if needed : https://help.twitter.com/en/managing-your-account/how-to-add-a-phone-number-to-your-account )
- From the twitter website, log in with your twitter user
- Go to https://developer.twitter.com/en/portal/petition/essential/basic-info and log in, if necessary
- Fill the form and click on ‘let’s do this’, then follow the forms (privacy policies, email verification…)
- After clicking the verification link in your email, you will land here:

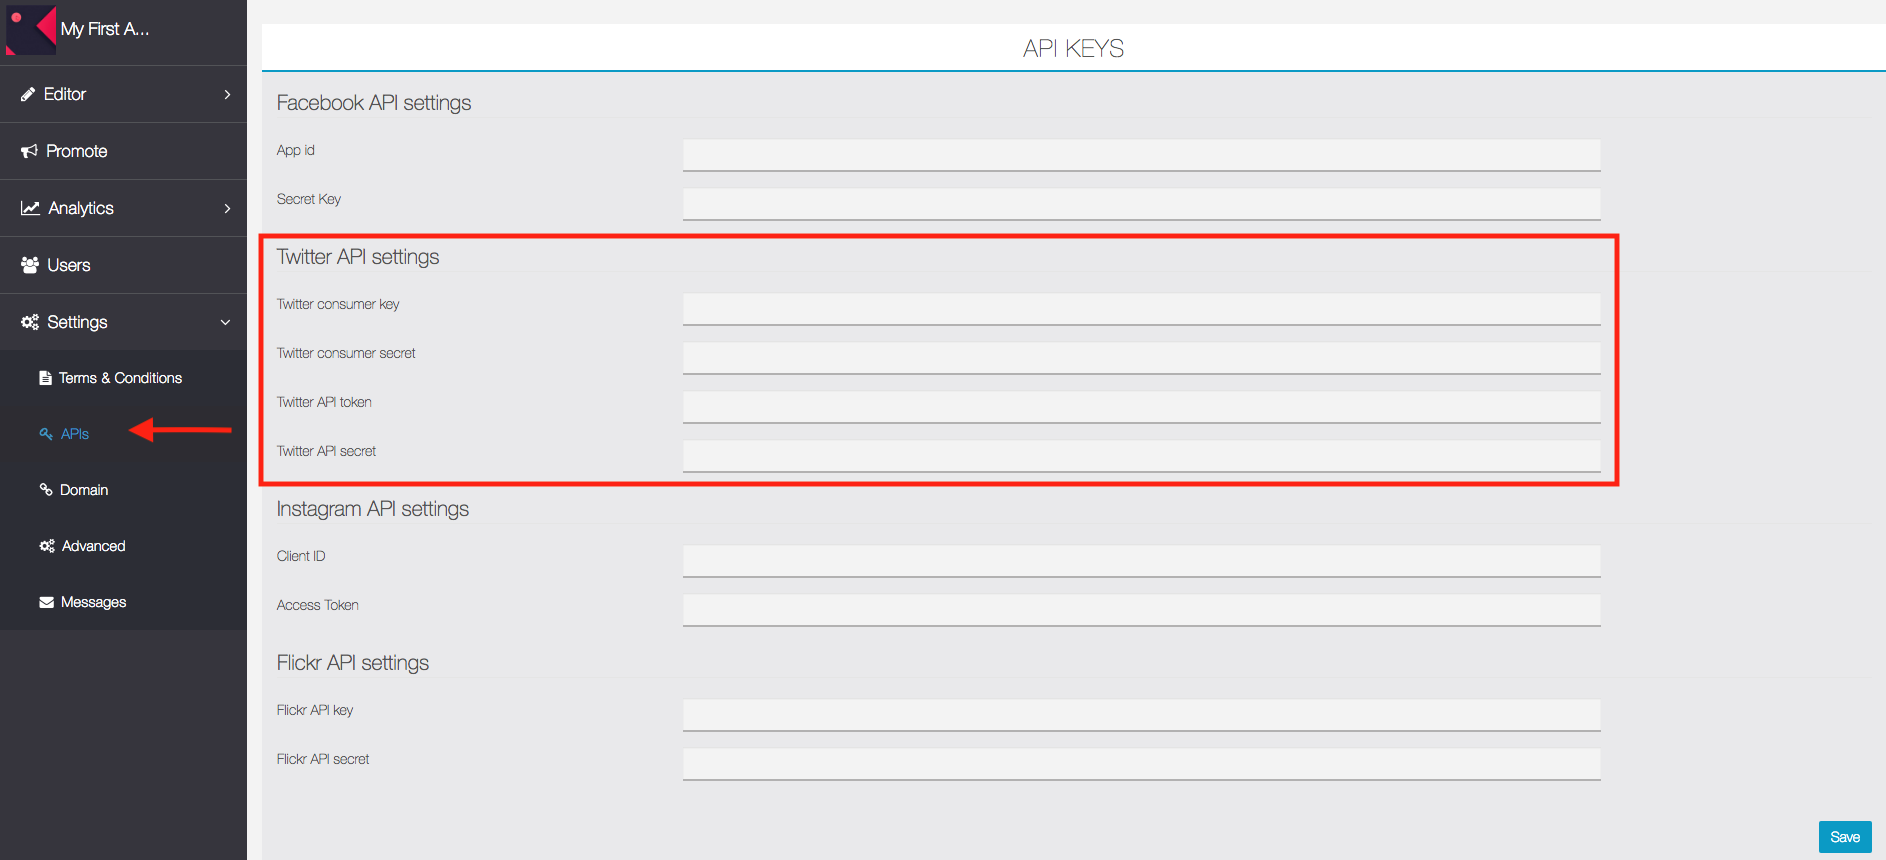
- Click on get keys, this will give you your Twitter consumer key and your Twitter consumer secret, save them

- Then click on Dashboard:
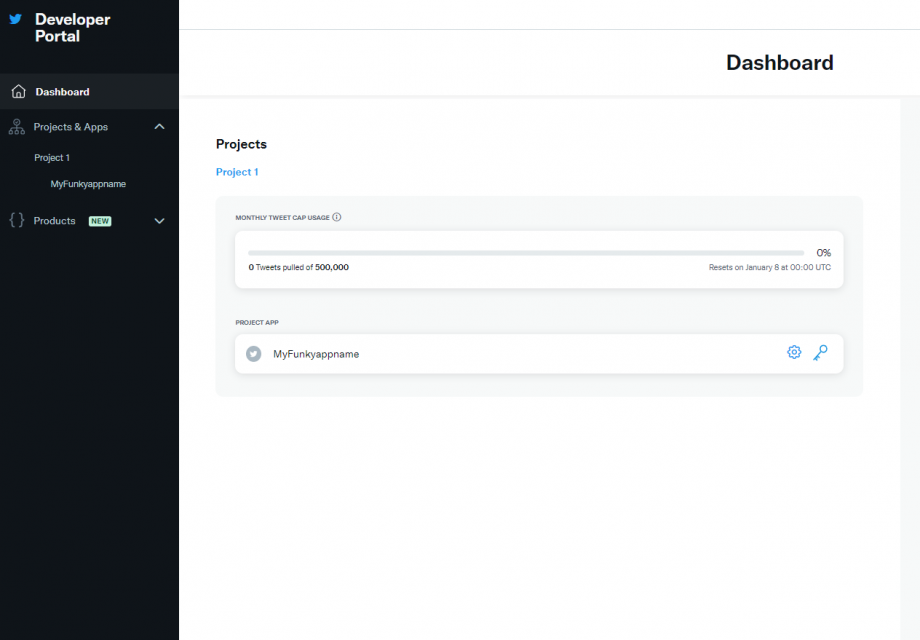
- From this page, click on the cog wheel next to your project app :

- Click on “set up” :
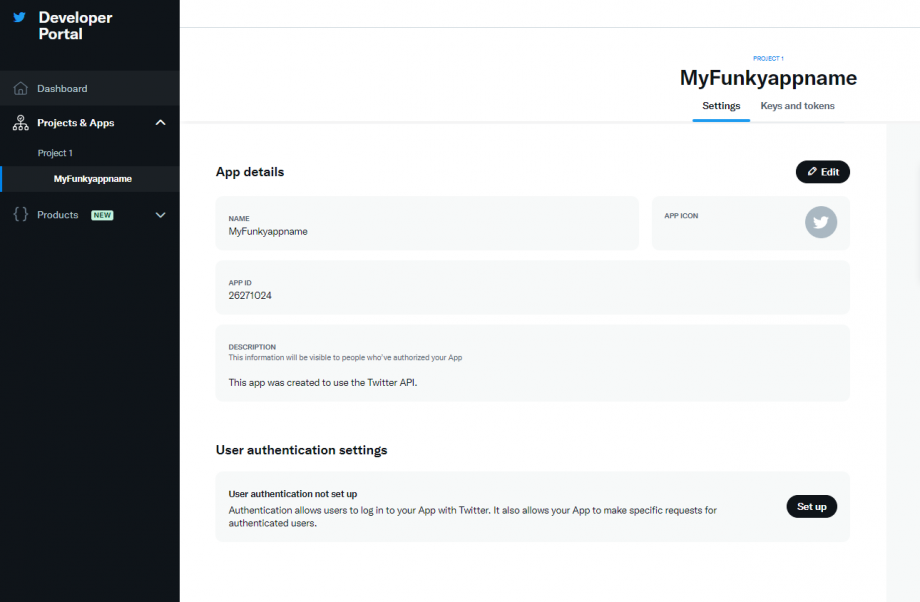
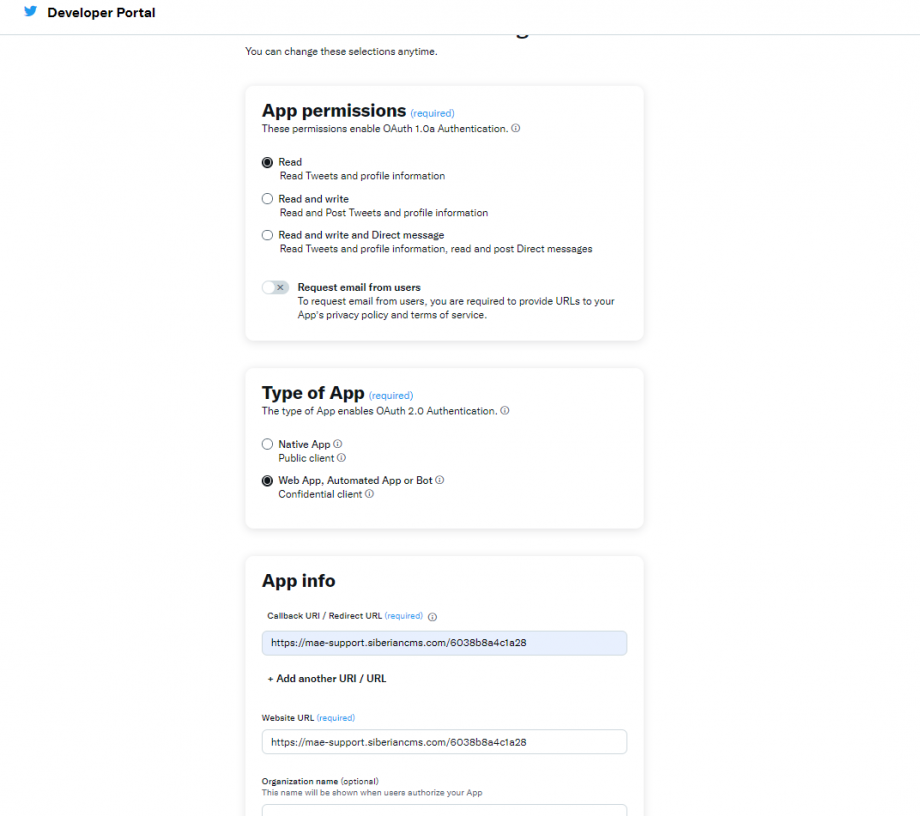
- Fill the form , You put your webapp URL in the URLS fields and save :
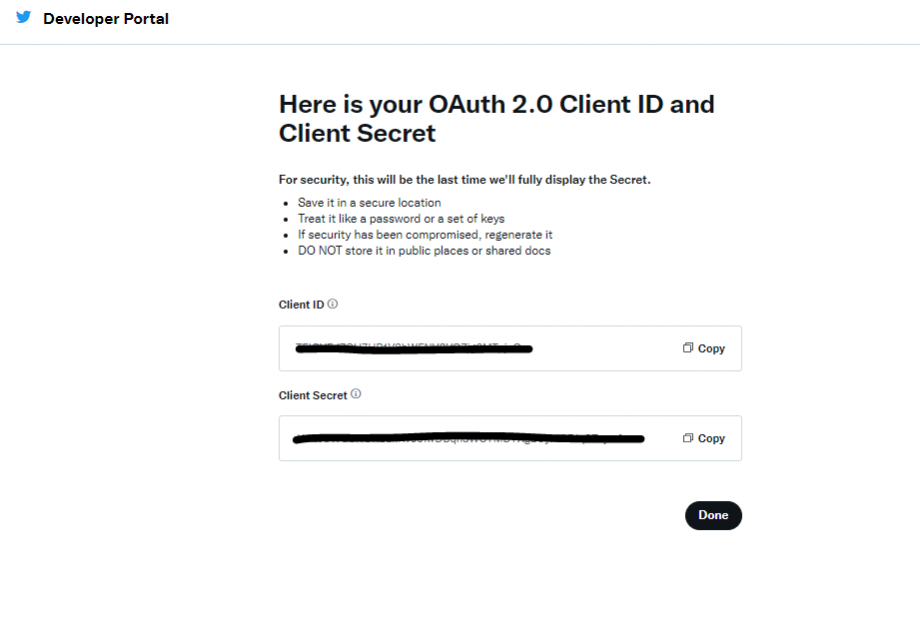
- You will get your Twitter API token and your Twitter API secret, save them :
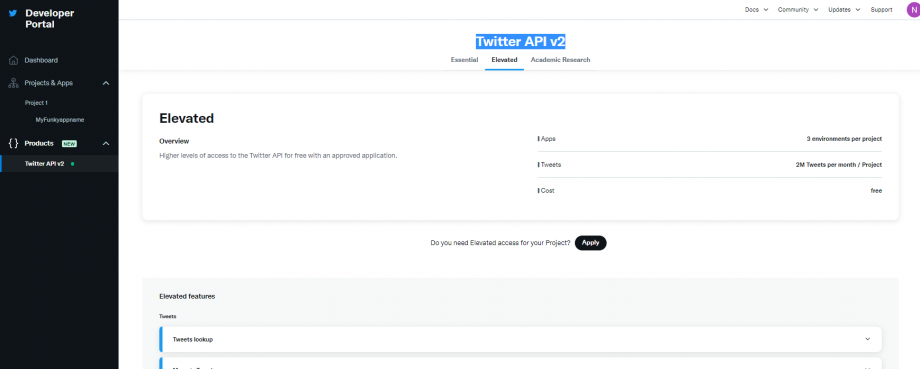
- Then, you will need to get the Elevated access. From the dashboard left menu, click on Twitter API v2 and select the elevated tab:
- Fill the forms:


- Accept the terms, and you are done.
2. Add the Twitter API keys
3. Add the feature Twitter
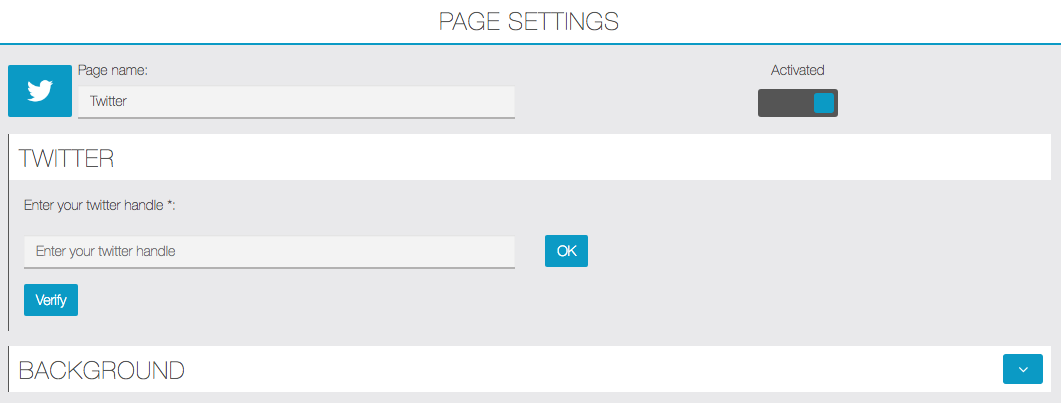
Click on  in the “Add pages” section:
The twitter handle is your personal id on twitter, it starts with the @ symbol.
You can check the integrity of your Twitter handle by clicking on ![]()
The following error message will appear if you haven’t entered your Twitter API key :
The following error message will appear if you have entered a wrong Twitter handle :
Otherwise, you will have a confirmation message on your screen like the message below:
You have now finished to set up your Twitter account in Siberian!


