You can purchase this module on the marketplace: http://extensions.siberiancms.com/downloads/surveys-get-rich-feedbacks-from-users/
The Surveys feature allows you to create complete surveys in order to collect information and feedbacks from users.
You can create advanced question types using logical triggers, and then collect results, download and export users data.
You’ll be able to create as many surveys as you need to.
Let’s see how to create a survey.
Step 1:
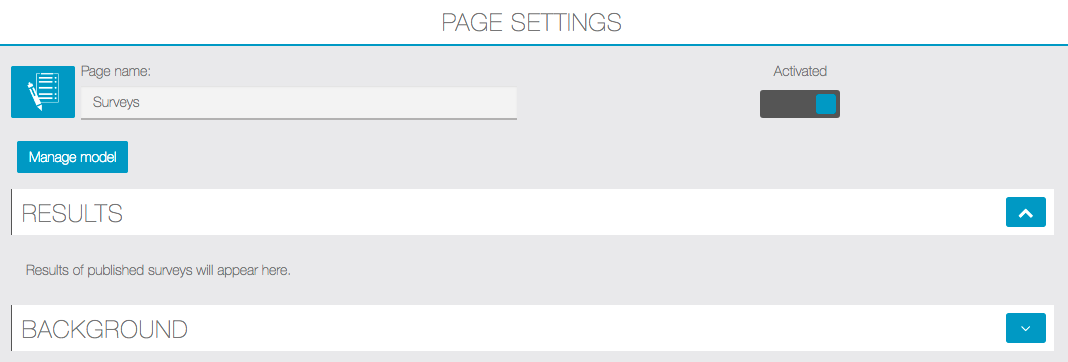
To create surveys click on ![]() in the “Add pages” part. This appears:
in the “Add pages” part. This appears:
Step 2:
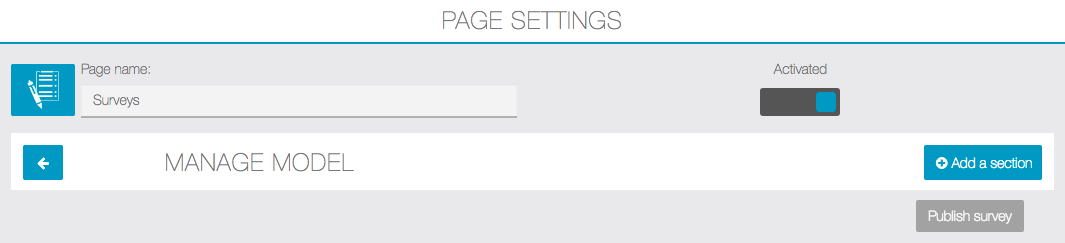
Click on “Manage model“, then “+ Add a section”.
Give a name to this section. Here we will start by “Example” to show you what is possible to do with this feature.
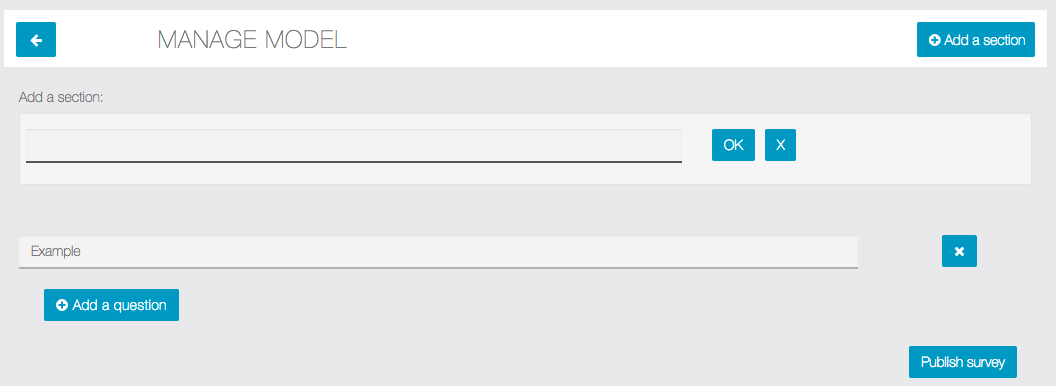
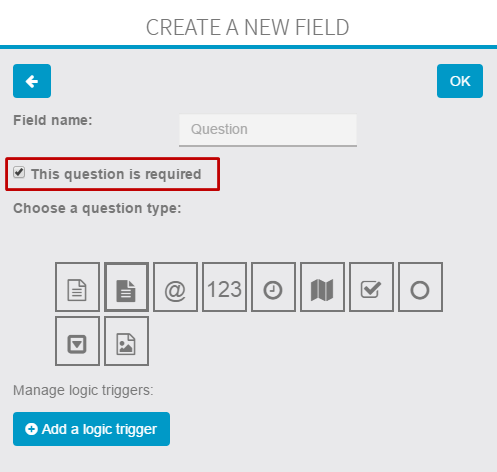
To add a question click on “+Add a question”. This window appears:
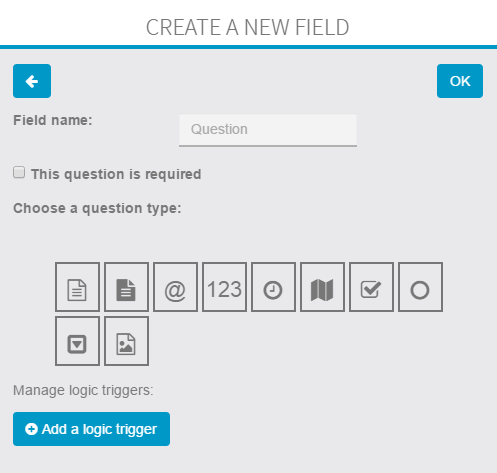
First, enter your question in “Field name”.
Let me introduce the different types of field for a question:
![]() : This field enables the user to write a short text.
: This field enables the user to write a short text.
![]() : This field enables the user to write a long text on several lines.
: This field enables the user to write a long text on several lines.
![]() : This field enables the user to write his email address to contact him.
: This field enables the user to write his email address to contact him.
![]() : This field enables the user to write a number.
: This field enables the user to write a number.
![]() : This field enables the user to write the date and hour.
: This field enables the user to write the date and hour.
![]() : This field enables the user to indicate his GPS position.
: This field enables the user to indicate his GPS position.
![]() : This field enables the user to select several options.
: This field enables the user to select several options.
![]() : This field enables the user to only select one option between the ones submitted.
: This field enables the user to only select one option between the ones submitted.
![]() : This field enables the user to select the option they want.
: This field enables the user to select the option they want.
Every time you enter a new question, you have the possibility to make this field mandatory. It means that the user cannot send the survey if this field is empty. To do this click here:
For each question you can create a logic trigger by clicking on “Add a logic trigger”:

The logic triggers allow you to choose different scripts depending on the user’s answer.
Conditions:
“Always”: always do the action, whatever the answer.
“When answer is”: do the action for the selected answer.

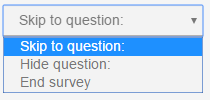
Actions:
- “Skip to question”: allows to skip to another question after the answer.
- “Hide question”: allows to hide a question if necessary.
- “End survey”: allows to terminate the survey.
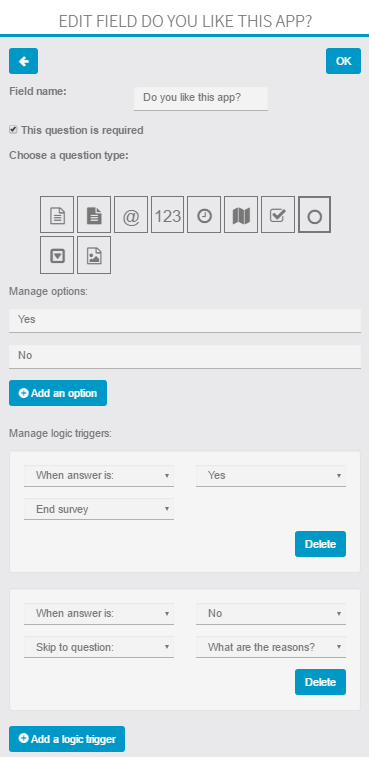
Example:
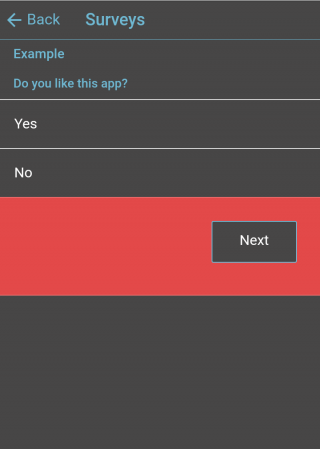
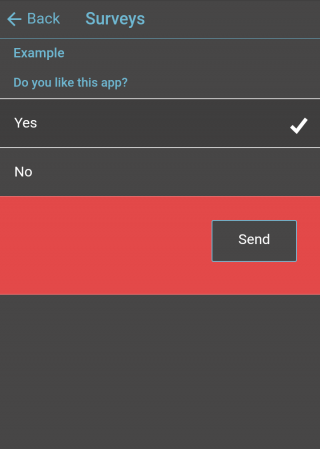
For a question like “Do you like this app?”, you enter two possible answers “Yes” or “No”.
With the logic trigger you can choose what happens if the user answers “Yes”, for our example we have chosen “end survey”.
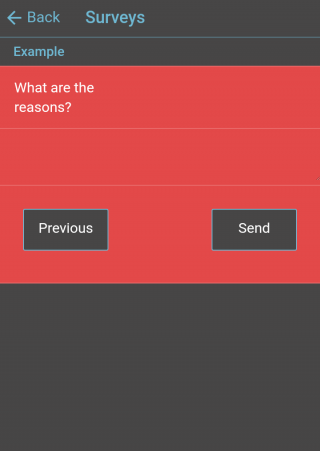
If the user answers “No”, the question “What are the reasons?” is offered.
You can create as many questions as you want in a section. But we recommend you to organize your survey clearly to be easy to fill by the user.
Step 3:
Publish your survey:
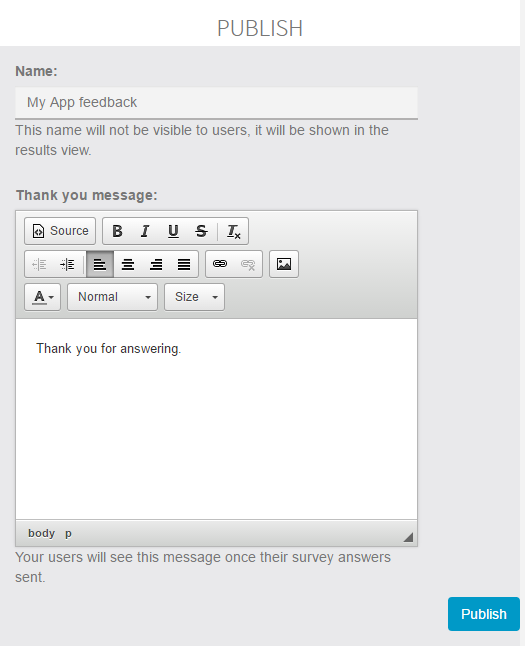
Fill the field “Name” and “Thank you message” and click on the Publish button.
Step 4:
Once you have published your survey, you can view the results by clicking on “view results” or download the results in .csv file.
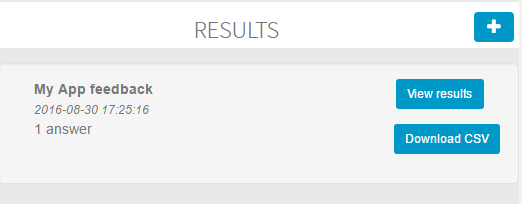
Here is an example of Results:

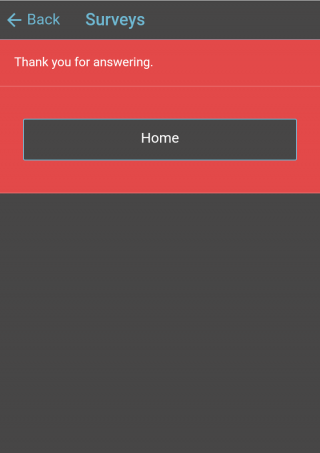
Example in the application:

You’re now ready to collect information and feedbacks from your clients!