Thanks to this feature you will be able to lock your app wholly or partly. The locked content will be accessible for authorized users only. We are going to see how to set up this feature.
First, you have to add the Padlock feature to your app, click on from “Add pages” to add this feature to your app.
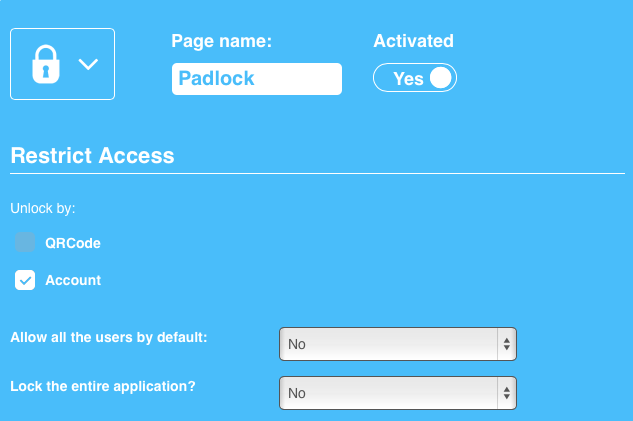
Then you can set it up.
You have two possibilities to unlock the Padlock and grant access to the whole applications to registered users. The first one is to use a QR Code and the QR Code Scan, and the second one is to create an account for your users, or to let them create their own account. Of course you can use both at the same time if you want, it’s up to you.
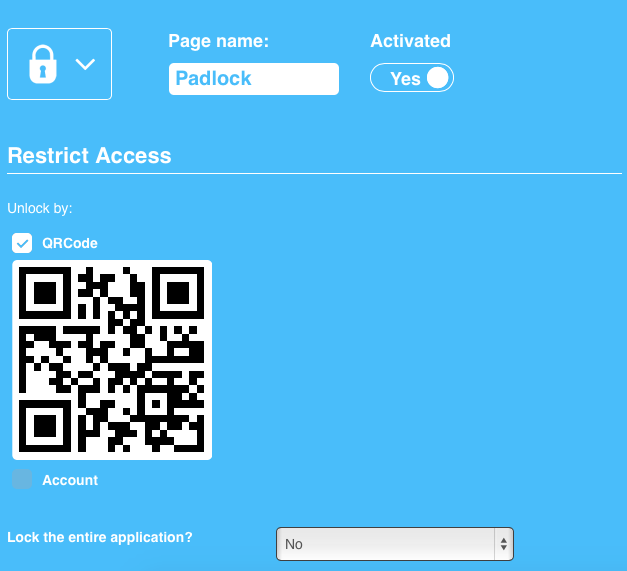
To allow your users to unlock the Padlock by scanning a QR Code, select QR Code in the Padlock feature. This will create a QR Code that you have to save and print and, for example, display inside your store to allow your customers to unlock some parts of your app by using the QR Code Scan.
Now let’s see how to set up the pages that will be locked by the Padlock.
“Allow all users by default”:
If you select “yes”, all users who have already an account on your app, or users who create an account on your app, will be allowed to access to the locked content. Setting on “yes” is useful to create a database of registered users who are the most engaged with your content.
If you let on “no”, that means you will have to authorize your users manually from the “Users” menu which is between the “Analytics” and “Extra” menus. We will see how a little bit later in this article.
“Lock the entire application”:
If you choose “yes”, your whole app will be blocked. And users will have to create an account or to create an account and to be authorized depending on what you have chosen for “Allow all users by default”. With this option you can create a private app.
If you choose “no”, you will just block some pages of your app:
Just choose from the list the pages you want to block. Of course, you need to have added pages to your app. You can add pages later and open this feature again to block them. The locked pages will not be displayed to the users until they are authorized to see them. Instead of seeing the tabs of this pages, they will just see one tab meaning there is a private content behind:
Once the user is logged in and authorized, the padlock tab disappears and all the tabs are displayed:
How to authorize the users.
If you have chosen not to authorize all the registered users by default, you will have to authorize them manually from the “Users” menu, in the editor:
Click on it. All the users who have created an account in your app, are listed.
Click on to edit a user.
If you want to authorize the user, all you have to do is to check the corresponding checkbox “This user can access the pages locked by the “locker” feature. Then click on “Ok”.
A little warning regarding the publication of your app on the App Store. Before submitting an app, create a test user with authorized access. Then, when you publish your app on iTunes Connect just fill out these info in the user demo fields to let Apple reviews what is behind the padlock feature.
Have fun!
Leave A Comment?